
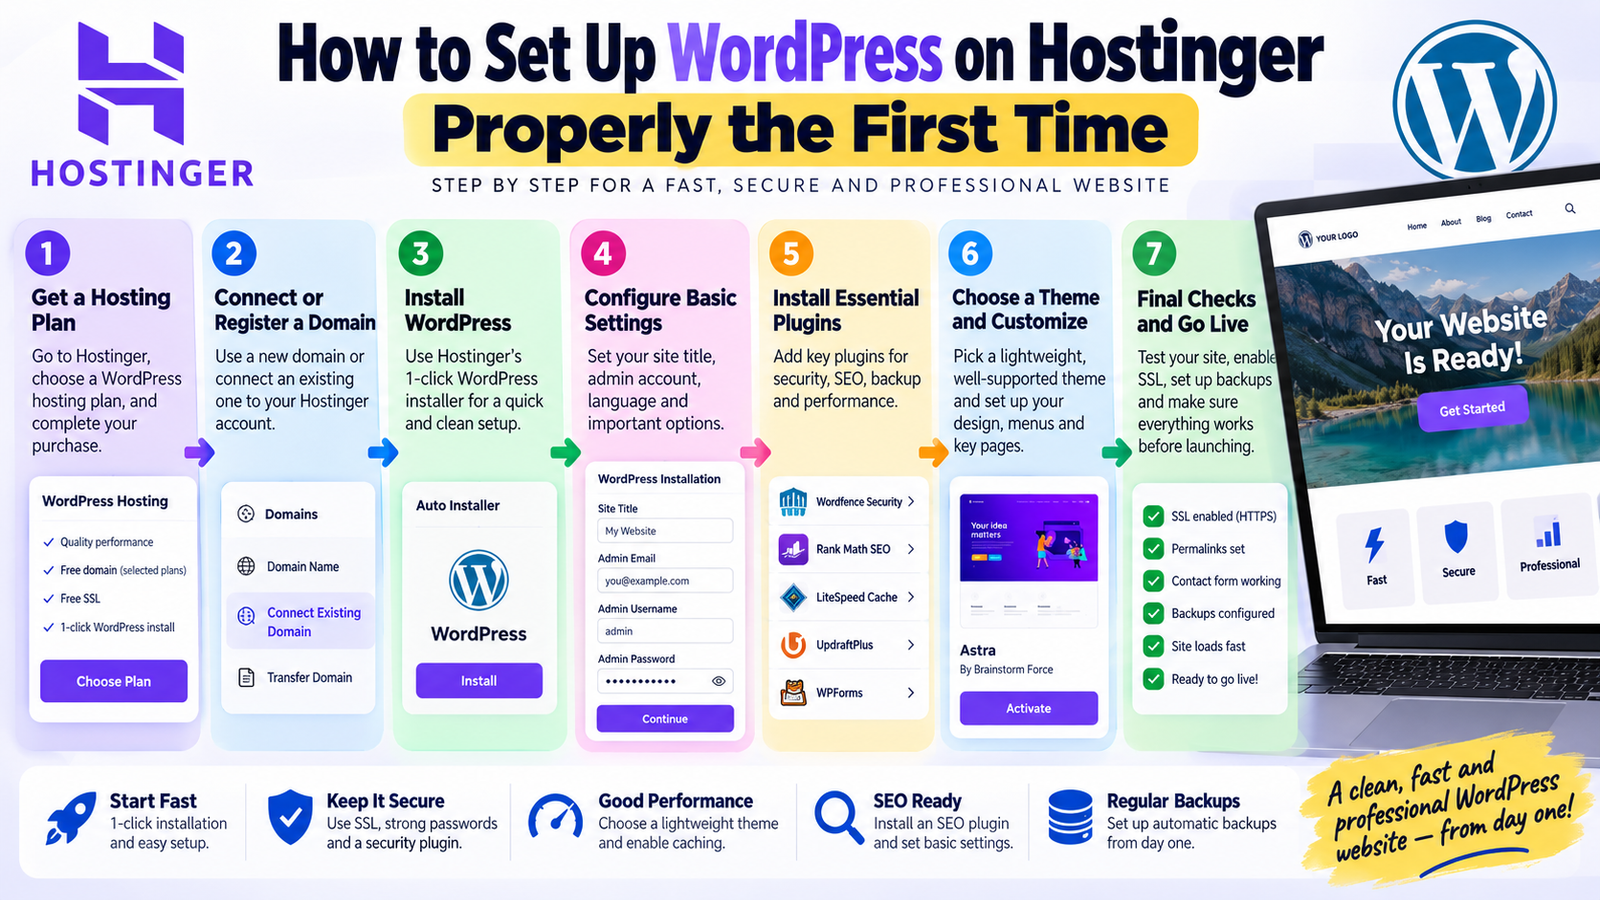
Setting up WordPress on Hostinger requires completing the initial account setup and running the built-in installation tool, which takes about ten minutes from start to finish.
Prerequisites
Hostinger provides a platform designed to let anyone build, run, and grow a business online using artificial intelligence features.
Our read: You need an active account and a hosting plan before you touch any configuration settings. Do not skip this step or try to install software manually via FTP because the automated installer handles the heavy lifting.
Don’t have a plan yet? See current Hostinger plans.
Install and connect
The installation process is managed directly from the main dashboard control panel. You locate the website creation tool, select the WordPress option, and follow the guided prompts to assign your administrator credentials.
Keep your administrator username and password secure during this step. Avoid using generic usernames like admin to prevent automated login attacks later on.
- Log in to the Hostinger control panel.
- Navigate to the website management section.
- Select the option to install WordPress.
- Enter your desired administrator email, username, and password.
- Complete the setup wizard and wait for the installation routine to finish.
Settings that matter and why
After the installation finishes, you must log into the new WordPress dashboard to configure the core settings. These settings control your site title, search engine visibility, and permalink structure.
Fix your permalink settings immediately before creating any pages or posts. Change the permalink structure from the default setting to the post name option so your URLs remain clean and readable for visitors.
- Log into your WordPress dashboard using the credentials you just created.
- Go to the settings menu and update your site title and tagline.
- Navigate to the permalinks settings page.
- Select the post name option and save the changes.
Verify it worked
Verification involves testing both the front end of the website and the back end login portal to ensure everything operates correctly.
Open a private browsing window to view your new site as a visitor would see it. If the default hello world page loads and you can log into the wp-admin area without database errors, the setup is successful.
- Open a new browser window in incognito mode.
- Type your domain name into the address bar and press enter.
- Confirm the default WordPress landing page displays correctly.
- Navigate to your domain with wp-admin appended to the end of the URL and log in.
How to undo it
If something goes wrong during the configuration process, you can delete the existing installation from the control panel and start over.
Do not spend hours troubleshooting a broken initial installation. Deleting the site and running the automated installer again takes less than two minutes and gives you a clean slate.
- Return to the main dashboard control panel.
- Locate the installed websites list.
- Select the delete option for the WordPress installation you want to remove.
- Confirm the deletion and start a fresh installation from the beginning if needed.
How we verified this
Evidence level: Researched from official sources. TNTReview did not test this product directly. Every factual claim above comes from the official sources listed here.
- Hostinger official site, checked 2026-09-21 (1 fact on this page)
Last verified: 2026-09-21